How to make a kitchen unit backlight with LED strip
Organization of lighting in the kitchen - help in the operation of the room. Plus, using the right lighting is a real way to save energy costs. Therefore, more and more people are choosing LED strips for additional lighting.
And no wonder, they have a number of advantages for secondary lighting:
- flexibility;
- ease of use;
- high aesthetic qualities;
- frugality;
- the required level of light.
Let's see what you need to know to make DIY LED lighting in the kitchen. For this, there are high-quality video and photo materials that can push you on interesting ideas regarding your headset or room.
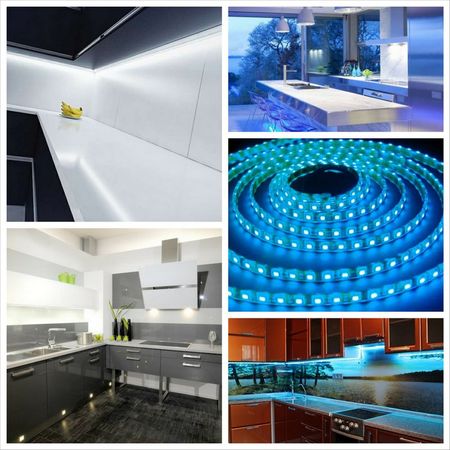
Types
There are several types of LEDs for the kitchen, there are also parameters that distinguish them. Let's look at several types:
- SMD-3528;
- SMD-5050.
They are the most common when working in the kitchen. The general SMD marking indicates the way the tape is mounted. That is, it is attached exclusively to the surface, which is necessary in the case of organizing the illumination of a kitchen set. The differences between the two types are as follows. The 3528 has one die and two leads, it costs less and is also less bright. We can say that this tape is intended more for decorative lighting.
The 5050 diode has great capabilities. First, it has 3 crystals and 6 pins. Secondly, it gives a greater luminous flux, it can be monochrome or multi-colored. It is he who is most often used to illuminate the working area of the kitchen.
The total cost of diodes can vary by design and density. Density is the number of sources per running meter. The denser the "bulbs" are, the more intense the light will be in the end. Most often, 3528 contains 60 or 120 pieces, 5050 - 30 or 60. High-quality lighting will, of course, with greater density. 30 or 60 are used more for a decorative effect.
Also, the parameters and types determine the protection class of the LED. On this basis, there are also several types of them:
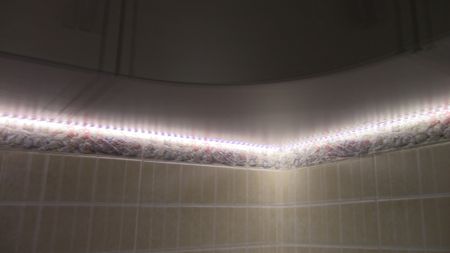
- Open. Their IP marking These are examples with unprotected tracks. They are used in places where moisture is excluded. Usually this is a ceiling lighting or decorative design of plasterboard structures, partitions.
- One-sided - IP They are sealed on one side. That is, one side is filled with a special sealant. They are also used at low humidity, for example, for overhead illumination of a headset in a showcase module, where dry spices or dried dishes are located.
- Double-sided - IP67.68 - absolutely sealed tapes. They will be ideal for illuminating the kitchen work surface and lighting the headset.
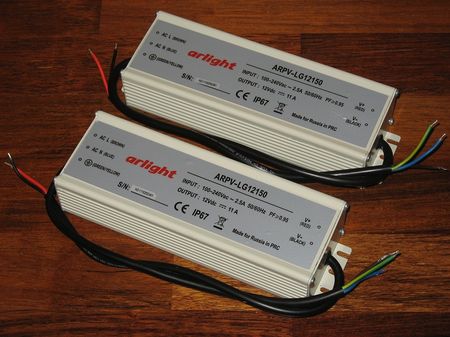
Power Supply
Without this element, the tape will not work, so it is necessary to calculate its placement, which can be both from the outside and from the inside of the headset.
The power supply provides a certain amount of power. It is impossible to power the diodes from a standard outlet. When choosing a block, it is important to pay attention to the degree of protection. After all, the kitchen is a specific room in which the humidity is high enough and its serious drops. Therefore, the unit must be protected against moisture from the air.
Let's try to determine the minimum power required to connect the LED backlight strip. In the calculations, it is important to determine the operating factor. For example, at low intensity, that is, when the tape will work periodically with long breaks, the coefficient will be 1.3. In the case of frequent or constant use, this parameter will be equal to 1.5. The formula is quite simple, you can use it when choosing a power supply.
So, the minimum power will be equal to the products of the backlight length, the power of 1 running meter of the tape (all this information is usually indicated on the packaging or on the tape itself) and the coefficient.
Mounting
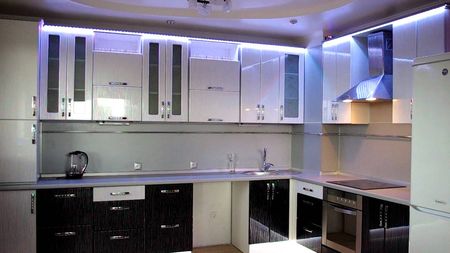
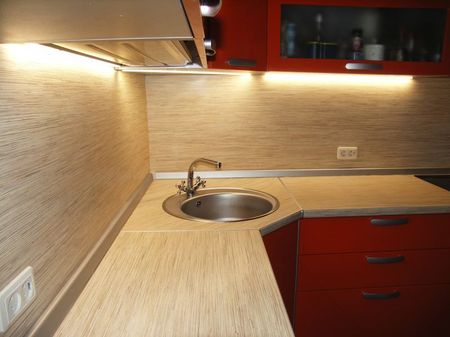
For illumination, it is advisable to make a special frame. In the case of ceiling lighting, drywall is used. To illuminate the headset, special PVC curtain rods are used, or the simplest option is self-adhesive strips. To create an interesting accent, the headset can be attached to the top of the wall cabinets. Then, together with a similar illumination of the working surface, an original composition will be created.
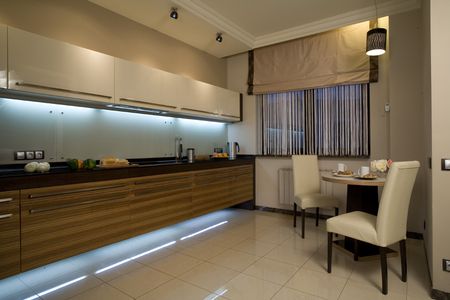
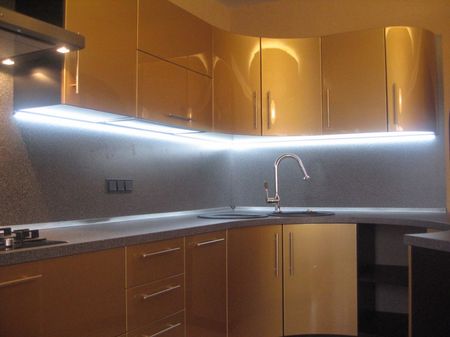
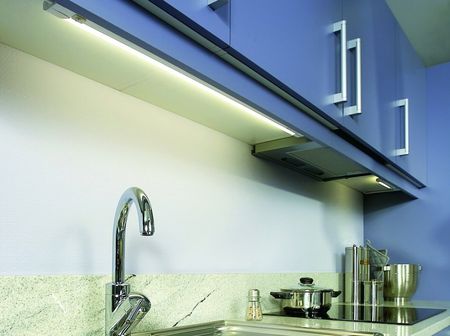
The work surface in most standard headsets will be illuminated with ribbons attached to the bottom of the hanging cabinets. It is more convenient, as it eliminates moisture from the working area during cooking. Initially, you need to measure the width of the headset cabinet, along which the backlight will go.
Then, with our own hands, using the most ordinary sharp scissors, we cut off the required amount of tape according to special marks applied over its entire surface. After that, it is necessary to put on a special connector on the cut edge or solder the wires.
Attention! It is important to observe the correct polarity! It is also best to use heat shrink tape when insulating the soldered wires. In the case of a headset, it is best to use a self-adhesive tape. Or, if it is not there, you can use ordinary construction double-sided tape.

Important! When gluing tape or tape, you need to degrease the surface. To do this, you can use ordinary detergents, and then dry the surface thoroughly. The contact wires to the power supply, if located in the middle of the cabinet, can be routed by drilling a hole in the bottom. This will not affect performance, and the work will look neater.
Let's summarize the main aspects of the choice
As a result, we can conclude that in order to organize the backlighting of the headset, it is important to decide on the choice of the tape itself, which is responsible for the lighting intensity, as well as the power supply. Then you will be able to create a unique design.